Have you thought about making your own candles but don’t know where to start? Candlemaking is a creative and relaxing hobby that results in a beautiful and practical craft. In this blog post, we’ll outline everything you need to make sure you don’t miss out on casting your own candle.
What is a candle made of?
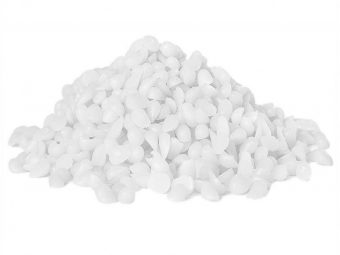
A wide variety of waxes and materials are used to make candles. The choice of wax is crucial for both the appearance and the burning quality of the candle. Different waxes can also be combined to achieve a unique look and feel. Here is an overview of the main candle waxes:
- Paraffin: The most common candle wax, it is odourless and slightly translucent. Paraffin wax is easy to work with.
- Stearine: An additive used to strengthen the candle and prolong burn time. Stearine candles are not suitable for use with silicone moulds.
- Beeswax: Natural and smells slightly sweet, giving a warm, memorable scent when burnt. It has the longest history of candle wax.
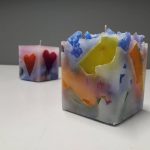
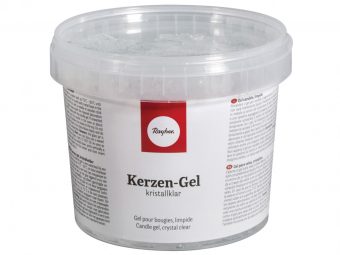
- Candle gel: A translucent jelly-like mass made from a blend of oil and polymer that offers endless decorating possibilities. Suitable for use in containers only.
PS! Save any candle wax left unburnt. Wax residues can be melted down with new candle wax or used as decorative additives.
Wick – the heart of the candle
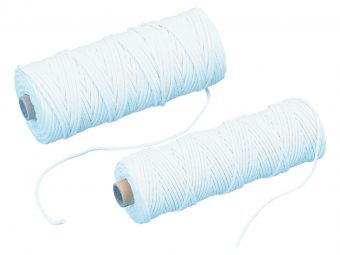
Candlewick plays a very important role in the burning of a candle. Braided wick is the main material used for candles. The right choice of wick ensures that the candle burns evenly and without smoke. When choosing the wick for your candle, it is important to consider the following points:
- Wick thickness: The type of candle wax used, as well as the thickness of the candle, determines the type of wick to be used. The thicker and bigger the candle is, the thicker also its wick. Make sure to follow the suggestions for the diameter of your candle on the wick packaging.
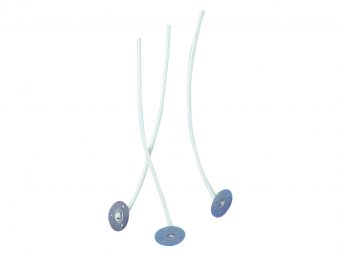
- Wick type: Unwaxed wick is similar to braided twine and is sold by the metre. The advantage of this is that you can cut the wick to the exact length of your candle. The unwaxed wick must be waxed before use by dipping it in melted wax and pulling it straight. The waxed wick, as the name suggests, has already been waxed and cut to a specific length. The waxed wick is ready for immediate use.
- Disc for wicks: The metal base disc for wicks prevents the candle from burning out and can also prolong the burning time of the candle. Waxed wicks often come with a disc base attached to it.
Candle colours and fragrances
In addition to the choice of wax and wick, the candle can be personalised with the addition of colours and fragrances to suit your taste:
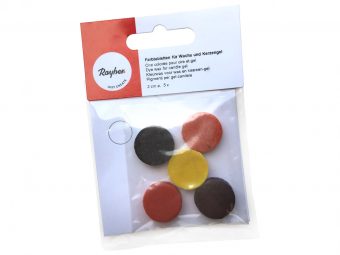
- Colours: Colouring a candle is done with special tablets of concentrated colourful wax. Wax tablets for candle colouring are generally dark in colour, but mixing them with the wax will bring out the right, vibrant tone. When adding the colour, the candle wax chosen should also be taken into account. The natural yellowish hue of the beeswax will affect the final colour of the candle when the colours are added. The brightest and purest colours are obtained by using paraffin wax, which has a neutral tone. Care should be taken when tinting gel candles, as excessive paraffin in the candle tint can cause the candle gel to become cloudy.
- Fragrances: Special fragrance oils are suitable for candles and should not exceed 4% of the candle wax. When using essential oils, remember that they can burn at too high a heat and give off an unpleasant smell.
Forms and containers
Candles can be made in a variety of moulds and containers, depending on the style and purpose you want to achieve:
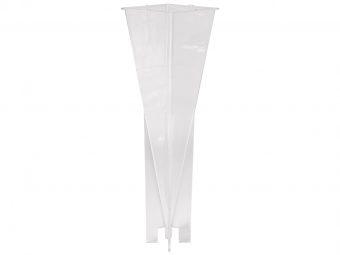
- Plastic moulds: Special plastic candle moulds are easy to use for hobbyists: the plastic moulds are designed to make making the candle and retrieving it from the mould as easy as possible.
- Silicone moulds: Diverse and easy to use – ideal for complex shaped candles. Silicone moulds cannot be used with stearin, as it will stick to the silicone/rubber material.
- Disposable packaging: You can also make candles with disposable packaging found in your household. In this case, it should be noted that it is more convenient to use slightly elastic moulds, from which it is easier to pick up the candle. It is also important that the mould should be able to withstand temperatures of 80-90 degrees Celsius.
- Candleholder: Candles remain in the candleholders until they burn out. They are mostly used in the casting of gel candles, but can also be used with other candle waxes. Care should be taken to ensure that the candleholder is made of a refractory material – e.g. metal, thicker glass, ceramics.
Candle decoration
The finished candle can be personalised with a variety of decoration tools:
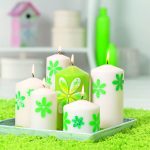
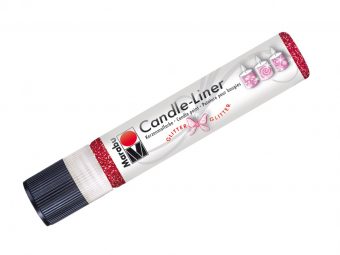
- Candle liner: A creamy, soft waxy paint in a fine-tipped tube that makes it easy to draw or write directly on the candle.
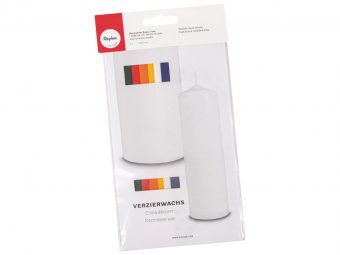
- Waxed sheets: Single colour or decorated wax sheets from which you can easily cut out different shapes and apply them to your candle. Ready-cut wax decorations are also available.
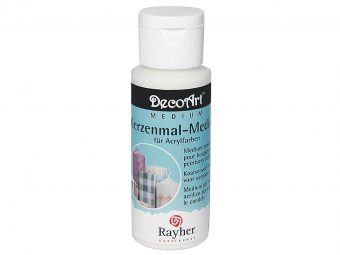
- Decoupage and serviette technique: An easy way to decorate a candle with beautiful patterns or images. Use Rayher Candle Medium to glue the cut-out images onto the candle.
- Acrylic paints: You can also decorate your candles using acrylic paints. When painting on a candle with acrylic paint, use Rayher Candle Medium.
The process of making a simple paraffin candle
Now that you know what materials you need, let’s go over the steps to cast the most common paraffin candle.
You will need:
- A double boiler in which to melt the candle wax.
- The wick and wax. It takes about 100g of wax to pour a 100g candle.
- Candle mould/candleholder
- Chosen colours, fragrance and additional elements
- Optional decorative elements
Steps:
- Melt the wax: Melt paraffin wax or other wax of choice using a double boiler. Add stearin and colour as desired.
- Prepare the wick: Place the candle wick to your mould or candleholder. Make sure that the wick is positioned exactly in the centre of the candle. If you are using an unwaxed wick, dip it in melted paraffin wax and draw it straight.
- Add fragrance: Adding the fragrance is the last step as the heat can cause the fragrance to evaporate. Make sure the fragrance oil does not make up more than 4% of the total wax mixture.
- Pour the candle: Carefully pour the melted wax into a candle mould or the container you have set the wick in. When pouring, make sure that the wick stays in the centre of the candle. NOTE: Leave some of the wax unpoured.
- Leave to set: As the candle solidifies, a depression will form in the centre of the candle, which needs to be filled with the remaining candle wax. This is done when the candle is fully set but still lukewarm. Use the same method if you want to make a layered candle with special colours.
- Decorate: When the candle is completely set and cooled down, remove it carefully from the mould. Now you can decorate the candle as you wish.
Making a candle is a creative and relaxing activity that gives you the opportunity to create unique and fragrant but also practical works of art. Whether it’s a gift for yourself or a friend, a handmade candle is always a treasured gift!


