Are you looking for a creative way to personalise your Christmas cards this year? By combining simple printmaking with beautiful gilding, you can create truly special cards.
You need:
- AirPlac Core foam board
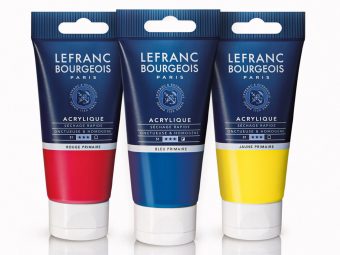
- White acrylic paint
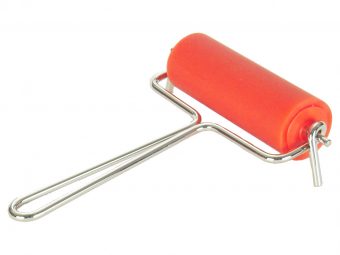
- Printing roll
- Coloured card base
- A sturdy sharpened pencil or other sharp stick.
- Gingerbread cutter
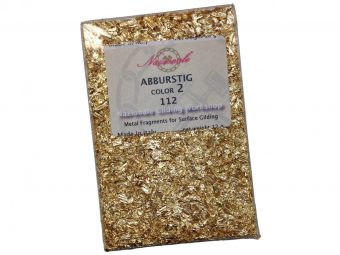
- Metal fragments
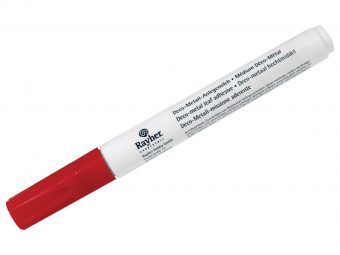
- Rayher adhesive pen for gilding
- Soft brush
- Cutter
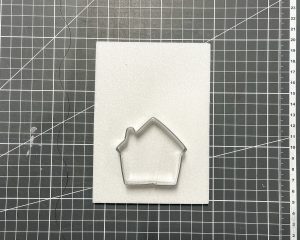
1) Press your preferred gingerbread cutter into the foam board. Be careful not to push the mould all the way through the foam board.
PS! The printed image will remain in a mirror image on the card. Keep this in mind if you want to print text.
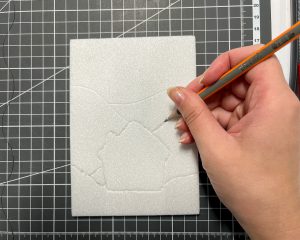
2) Scrape the lines of your gingerbread image a little thicker with a pencil. If you like, add your preferred background elements.
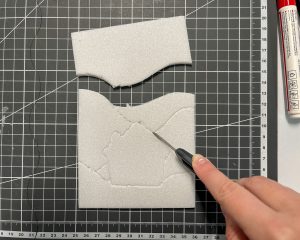
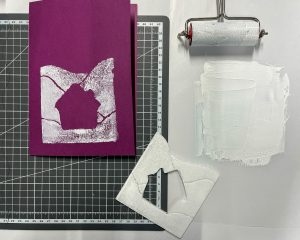
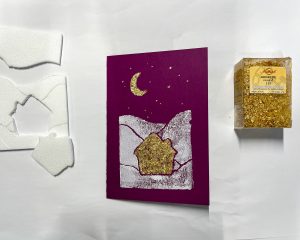
3) Cut out any elements you don’t want to print, or that you want to overlay with metal fragments later. For us, we cut out the sky to keep it in the same shade as the card, and the house because we want to gild it later.
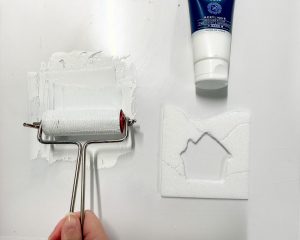
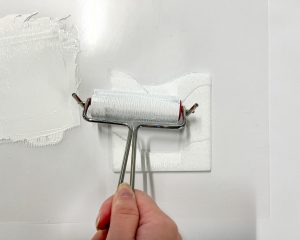
4) Once the foam board is prepared, you can start printing. To do this, roll the white acrylic paint on a smooth surface until even.
PS! Use an easy-to-clean smooth surface as a base for rolling. For example, a plastic sheet or the glass of an old picture frame works well.
5) Apply the acrylic paint to the foam board that has been scraped with a printing roller. Make sure the paint layer is even but not too thin. Because acrylic paint dries quickly, a thin layer of paint on the foam board can stick to the paper.
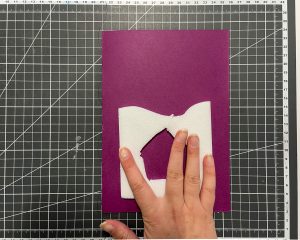
6) Place the foam board on the front of the card with the paint side underneath. Smooth it evenly for a while to ensure an even transfer of the image onto the paper. You can also use a pin roller to help you with this.
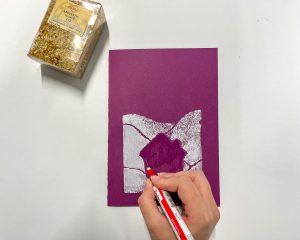
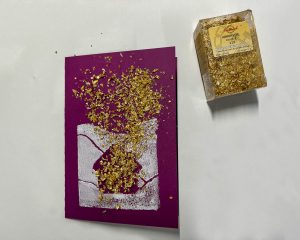
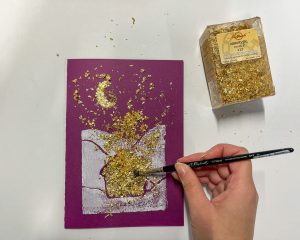
8) Use a Rayher adhesive gilding pen to cover the areas where you want to add metal fragments. Wait 5-10 minutes. The glued surface should be slightly tacky under your finger but not too wet.
10) Use a soft brush to press the metal fragments onto the glued surface. When all the glue has been covered with the metal fragments, you can knock the rest of the dust off the card and collect it back in the box. Continue smoothing the gilded surface with a soft brush to an even surface.
PS! Be sure to clean the tools immediately after printing the card! As acrylic paint dries quickly, cleaning the tools afterwards can be much more difficult.


